I love decorating for Christmas. It's my favorite time of the year. The twinkling lights on the trees and every surface covered with something festive! Unpacking boxes is so much fun for me. I pull out ornaments that I got as an infant, village houses that I have decorated with for decades and special plates and wreaths my kids sweet little hands made when they were toddlers.
But not every decoration stands out year after year. And for that reason, I like to get creative!
Take for example this crushed red velvet stocking. It's seen better days. The bedazzled jewels on the felt holly leaves are coming off and, well, it's just not holding it's own against the red plaid woodland vibe that I am gravitating towards this year.
Instead of throwing away a perfectly good {though hideous looking} stocking, why not update it? I've got the perfect no sew solution for you in case you find yourself with some stockings that really aren't fit to be hung anymore!
If you have a few of these 1970's era stockings, have no fear, we can bring them up to speed and have them hanging with pride on your mantel in no time! I started by taking off the jewels that were still hanging on, on the stockings. The felt holly leaves I left because my fabric cuff I was using was thick enough that they wouldn't show through.
I would like to say that I measured but I literally put the fabric scrap that I had over the white space I wanted to cover and cut a half an inch margin around the sides and a two inch margin around the top. I wanted to be able to fold the top into the stocking so that when it was open, you would see plaid and not the white from the old cuff.
Fold your three sides in and iron them down. Plaid is so easy to work with because it gives you lines in the fabric to work with. Love that! You just want a nice crisp seam on the edges. On the top, fold it down two inches and iron a line into it. You want the edges to stay down when you iron them, but the top should be able to open up since you are going to fold it into your stocking.
Now you have your cuff. I love iron on paper backed adhesive like Heat n Bond. I always have it in my craft stash. Iron on your Heat n Bond to the back of your plaid cuff. Make sure that you iron it on to the top of the cuff that you will be folding over.
Peel off the paper backing, and then place your plaid cuff onto your stocking. Starting at the edges of the stocking, press with a hot iron adhering your plaid cuff onto the top of the stocking. Be careful not to iron the top of your cuff until you are ready to fold that over the top and into the stocking.
Iron your new cuff into place and make sure that it's secure.
Once you have your cuff in place, you can cut out your heat transfer vinyl on your Silhouette. My favorite vinyl is
Expressions Vinyl. It cuts like butter and peels off even the most intricate designs.
I went with a deer silhouette because plaid and deer are like peanut butter and jelly. Don't you think it looks a million times better?
Who knew you could make an old stocking look so much better with a few no sew updates?!
Over at the
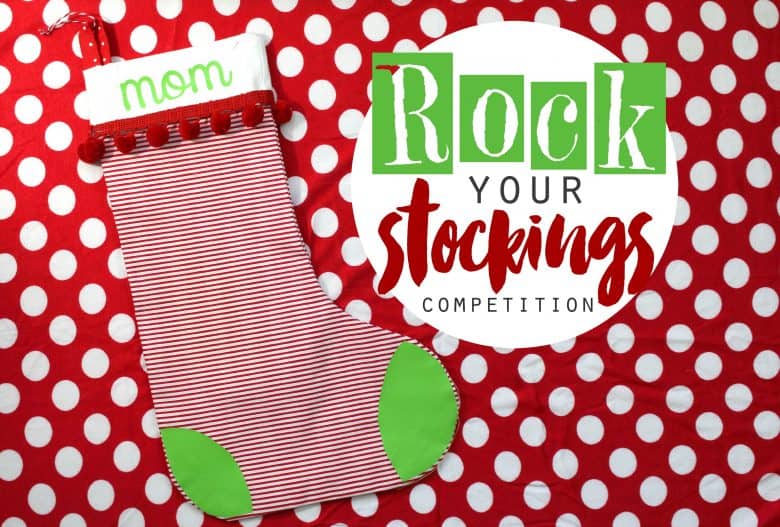
Expressions Vinyl Facebook Page they are having a rock your stockings contest! People can upload a picture of a stocking they fancied up using vinyl! And they asked some of their favorite bloggers to get the ball rolling with some fun ideas!
{You can enter to win a gift card--but I also have a gift card for $100 to Expressions Vinyl at the bottom of this post! }
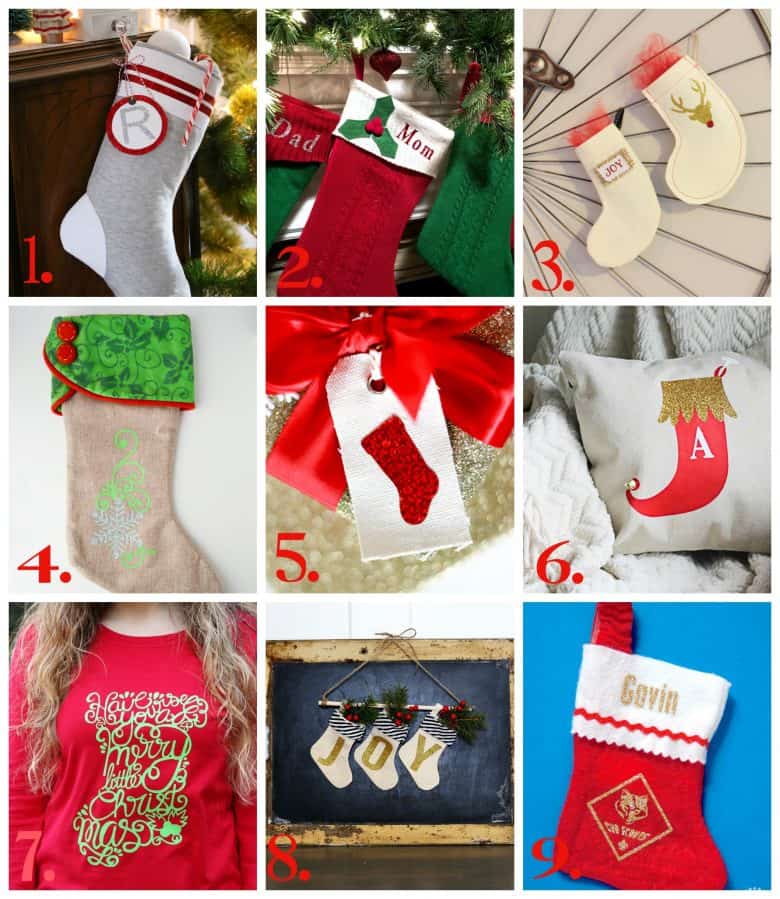
Here are 18 fun stocking ideas that all have Heat transfer vinyl on them!
1. Faux wool sock from
Fynes Design2. Personalized stockings from
Maybe I will 3. Gift card holder from
733 blog4. Customized stocking from
Artsy Fartsy mama5. Stocking tag from
Strawberry Mommy Cakes6. Stocking pillow from
One Krieger chick7. Stocking shirt from
Pitter and Glink8. Stocking banner by
Sugar Bee crafts9. Boy Scout stocking from
mm scrap shoppe
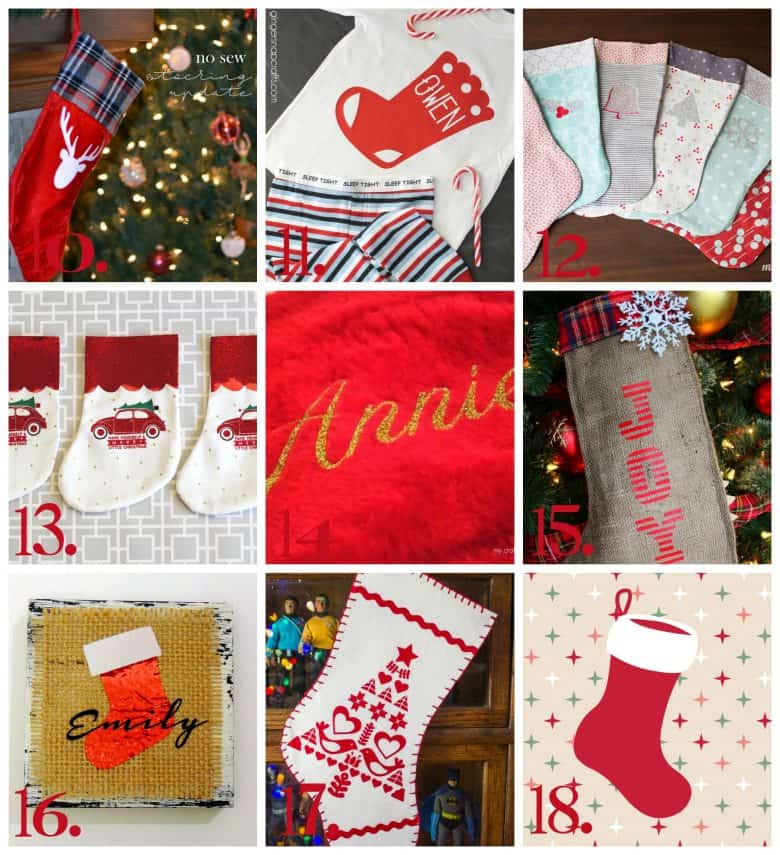
10.
No sew from Holy craft11. Personalized Pajamas from
Ginger snap crafts12. Diy Stockings from
Mabey she made it13. Stocking with car from
Kiki Comin14.Personalized stockings from
Craftily ever after15. Burlap Joy stocking from
A girl and a glue gun16. stocking placecard from
Crafting in the rain17. Scandinavian inspired stocking from
Tried and true18. cute stocking from
Flamingo Toes
Make sure to enter to win $100 gift card to
Expressions Vinyl!
Good Luck!
a Rafflecopter giveaway