Showing posts with label stencil. Show all posts

Stenciled spring door mat

I am more than ready for spring.
Actually, I am super ready for summer,
but the glimpse of warmer weather, the birds chirping and the longer days are a welcome change from the doom and gloom of winter.

I am always looking for ways to welcome the new seasons,
this time I did it with a stenciled door mat update.
It's super easy and will cost you next to nothing!
My project cost me $2.50 but only because I was lucky enough to receive the amazing Ed Roth stencil 1 and FolkArt paints to create my project.
{stencils and paints can be picked up at your local Jo-Ann fabric store}


Here is what you will need:
A plain door mat with low nap
{I found mine 2 for $5 at my local Fred Meyer}
 Ed Roth Stencil 1
FolkArt multi-surface paints
brush or pouncer
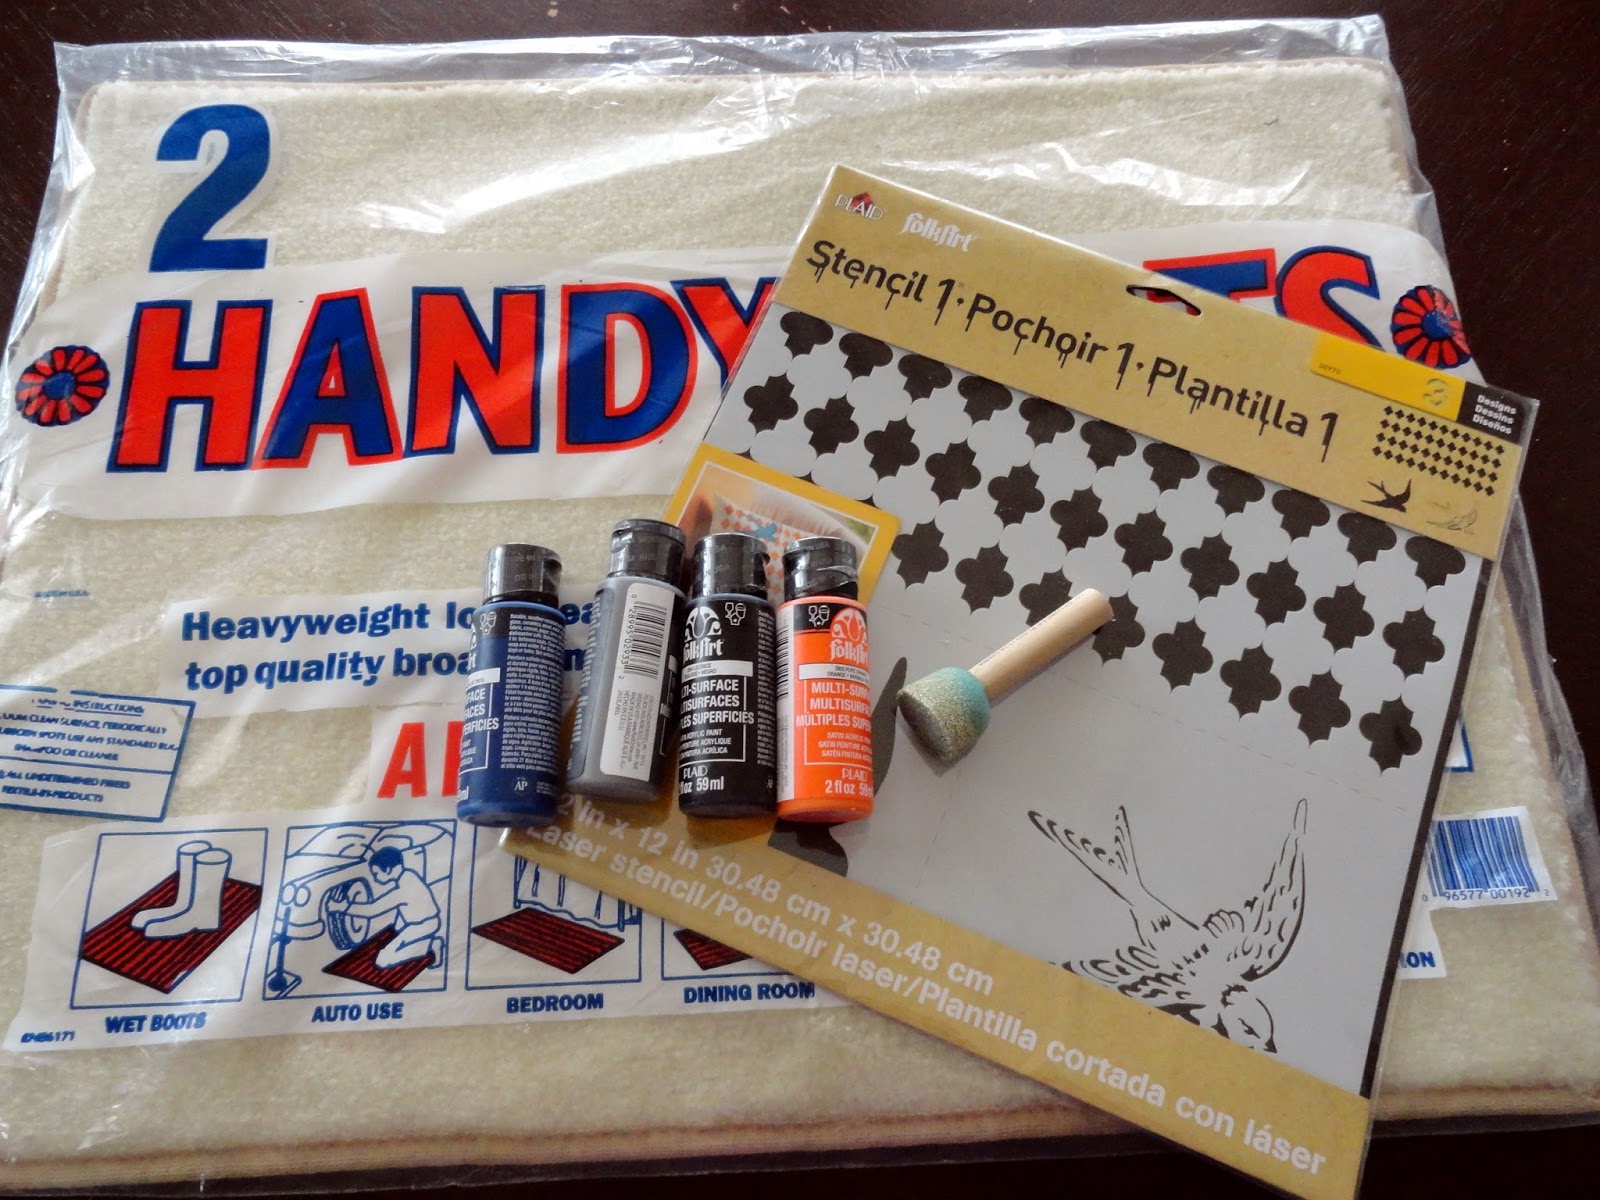

Having the right paint is important in this project.
The FolkArt multi-surface paint is great on any surface.  It's dishwasher safe 
{not that we need it for this project, but it's good to know for the future!}
and it's perfect for indoor or outdoor applications.

I started by placing my stencil in the upper left corner of my mat.
You can use spray adhesive to help it adhere better if you would like.


I used my brush to "pounce" paint onto my stencil.
It's best not to rub your brush or use a traditional paint stroke,
especially on a rug since you want to really get the paint on the fibers but not smear it.


Once you have your stencil painted in, carefully peel it back.


I used the first row of my stencil and lined it up with the final row of my completed stenciled row.
This will give you the proper spacing for your stencil.


When you begin painting the other side of your mat, 
use the far edge of your stenciled row as a guide.
Again, this will help you keep the proper spacing.


Once you are finished with the main stenciling,
let your mat dry.

Now for the fun part!
I love the bird and the overlay of the small detail for the bird.
It made me feel like a real artist and gave my project a lot more depth.
You will start by using the bird stencil and "pounce" your paint and brush over it.
Remove your stencil and let your paint dry.


How cool is this detail?!
 I love it!
I think this is what sets Ed Roth FolkArt stencils apart from other stencils I have used in the past.
The depth and detail that you can get from the design is so much more than just stopping with the bird.

Take your detailed stencil, place it over your dry bird and use your brush to paint on some amazing artist details!


It's subtle since the colors I used were so bold, 
but how cool is that?!


I love my new stenciled rug.
It's the perfect place to let my rain boots dry off while we wait for those May flowers!


Check out these other great stencil1 projects
Don't miss out on the latest from Plaid

disclosure: this is a sponsored post but all opinions are 100% my own. I promise I wouldn't share a product that I didn't love and recommend.
0

Handmade Charlotte Folk Art paints and stencils


0

$10 Stenciled rug with Cutting Edge Stencils and a giveaway!!!


Last week, Cutting Edge stencils was kind enough to send me a stencil of my choice to try out.
I spent too much time looking through all of their great stencil choices and I have to tell you, 
stencils are not what they used to be!

Remember the ugly bunnies and the flower basket wall stencils you could get in the 90's? 
There are none of those to be found.
phew!
Instead there are some great all over patterns 
Like this Zagora stencil

stencil-pattern


This beautiful Rabbat stencil
moroccan stencil design

And this one that I chose, 

wallpaper stencil

I took the stencil and made this beautiful custom rug for my den.
Wanna know the best part? 

 It only cost me $10 to make!


How you ask?
Well, I picked up this 5x6 rug at Big Lots for $10
It was the last rug they had and it was pretty sorry looking.
and that's saying something for a rug at Big Lots!
There wasn't a price on it, and after pointing out the flaws in the rug, the manager and I agreed upon $10.
can you tell it's been rolled up just a little too long?


I watched the quick how to stencil video from Cutting Edge Stencils
and got started.


I had some painters tape and used that to position the stencil to the rug.
In hindsight I could have spent more time thinking about the repeating pattern and how to place the stencil, but in keeping with my personality I went with random, cuz that's how I roll.


I had the perfect paint colors in my garage that I picked up FREE (my favorite word) 
from a local business.
The company is contracted to do painting in local area businesses and offices and when they have leftovers, they place it on a pallet outside for free.
There are so many great colors to choose from.
These are the two I picked for this project.
**the grey on the left was too light, so if you look at the other pictures, you can see I traded it in for a darker color for the actual project.

I also used the dense foam roller supplied by Cutting Edge
and some foam brushes I always have on hand.


I started painting and rolling on the rug and was really pleased with the results.


Four hours later, I had completed the rug.
I was amazed at how easy it was to use the stencil.
I didn't have to wash the stencil between uses
It wasn't messy
There was very little clean up
I didn't have to be too accurate with my placement...it all just fell into place
And the stencil made perfect crisp lines every time!


I found the perfect spot for the rug in my den.
I love how the yellow in the flowers matches the carpet.
I couldn't have planned that better!


My goal in decorating is always to make it look expensive without it being expensive.
I think I achieved that with this $10 rug don't you?


In case you are interested in an update of how my stenciled rug is holding up after several years. Come on over and see for yourself!


27
Back to Top