On Monday, I announced my first ever Holy Craft sew along!
I am so excited about it!
I want to help my friend Paula take the 2013 total of 222 pillowcases made up to 300!
Think we can do it?
**If you want to help by donating money, please visit this link**
I shared a supply list with you on Monday.
In case you missed it you will need:
7/8 yard main flannel fabric
7/8 yard main flannel fabric
3/8 yard wide flannel trim
1/8 yard narrow trim
I will be making three cases.
I have this material all washed and ready!
Start by cutting your main body fabric down to 27"
I also used this fabric as coordinating trim.
Cut your smallest trim down to 3"
Your wide trim will be cut down to 11"
Press all of your pieces
Press/tamp narrow trim to 1 1/2 inches
Make sure you don't stretch it!
After all of your pieces are pressed,
you will be making a hot dog.
To make a hot dog:
Lay your wide trim with the cut edge at your tummy
Layer narrow trim with raw edges matching wide trim raw edges
Layer main fabric right side DOWN with raw edges matching
Hopefully this image will help explain it a bit better
Roll main fabric up toward you from the un-stacked raw edge toward the stacked raw edge
Bring the wide trim over rolled up main fabric and pin your raw edges together
This is a very important step!
If the edges aren't straight and even, the trim will look bad!
Pin
You now have a hot dog!
You now have a hot dog!
Sew it:
Stitch the raw edges of the hot dog with 1/4 inch seam allowance
Turn the hot dog right side out
It's like magic!
Iron the trim from BOTH side really well
Apply a decorative stitch to the lower edge of the narrow trim
For years, this is a step that we didn't do, but Paula noticed that once the pillowcases were washed this piece of narrow trim gets all wonky.
It helps to add a decorative stitch to keep in looking nice after the case is washed.
If you can, great, if you can't no worries!
Square it up
Match trim and raw edges WRONG sides together
Cut off selvage to make it even, cut off the bottom edge to even it up too.
Watch for your printed logos on selvage and make sure you trim all of those off.
Sew it again
Stitch with a very narrow seam allowance along your raw edges (1/8-1/4 inch seam)
If you need to re-trim your seam to make it more narrow, go for it.
We are trying to keep this seam from being bulky
If you find there is bulk in the corners you can trim those as well.
Turn inside out {right sides together}, poke corners out
Iron making sure to open up the seams
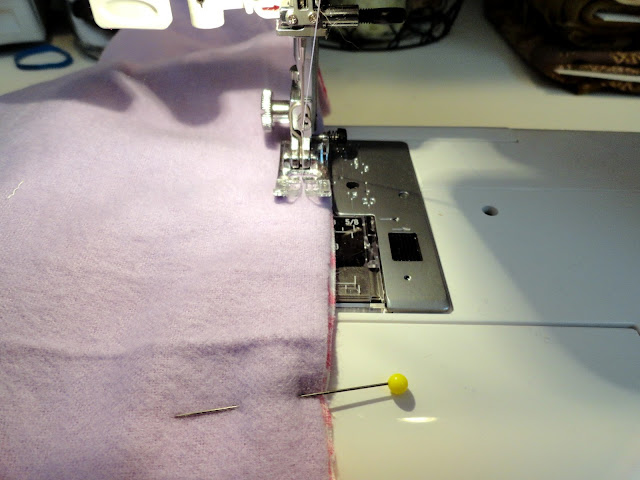
Stitch 1/4-1/2 inch seam allowance to encase your previous seam
This is the seam that you are making to encase the previous seam.
Your seam should look like this
Turn right side out
Poke corners to make square
Iron making sure to open seams
Trim any loose strings
Press entire pillowcase
That's it!
It took me less than an hour to complete three pillowcases.
Once you are finished gathering your friends and making pillowcases,
you can send them along to:
Paula’s Pillowcase Project
C/O Light of Christ Lutheran Church
2400 SW 344th St
Federal Way, WA 98023


No comments