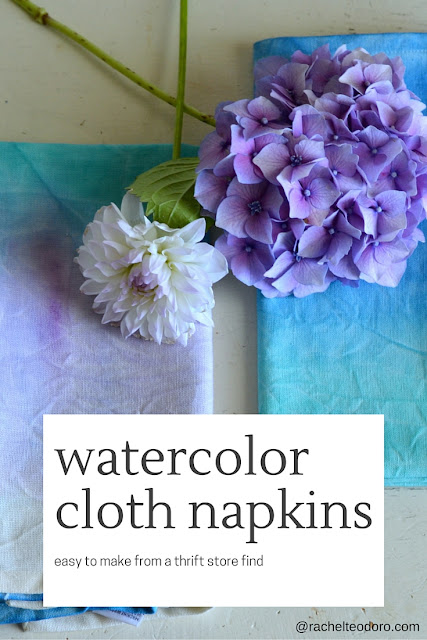
Last week, I gave you all a little sneak peek to this project when I revealed my embroidery hoop chandelier. I was part of a thrift store challenge, where another blogger went shopping at a thrift shop {on a budget of course!} and sent me a box of goodies that I could create with. I saw a few things in the box that automatically shifted my brain into creative mode, the embroidery hoops were one of them, the plain cloth napkins were the other. I'm excited to share with you how I used paint in my cabinet to create these watercolor napkins.
I started by gathering my supplies. I love garage sales, and tend to hoard craft supplies. There is nothing worse than being stalled out in the creative process because you have to go hunt down supplies at six hundred different stores!
Obviously, the paint brush was from a garage sale and as you can see, my thrift store napkins were $2.99 {and gifted to me}. I always have a stash of paint on hand in various colors because you never know when you are going to need it. I think I picked these up as samples at SNAP blogging conference this year. As you can see, I hadn't settled on the color palate I was going to use just yet. I ended up using only 3 colors, but the glory of this project is that you can use any paint you want to match any color palate that you have. I also used paper bowls that I could throw away because that makes clean up easy!
You want to start by wetting down your napkins. You don't want them dripping wet, just damp. I rung out the extra water.
I took a few drops of my paint and added it to my bowls. I used water to dilute the paint and used my brush to stir it in. I knew I wanted the blue to be bold, so I didn't dilute that one quite as much as I did the purple. Think 3-4 drops of paint to 1 cup of water. You will have to experiment on your own to get the winning combination for your project.
I have a work surface that is made for crafts, so I didn't cover it up, {You can read more about our removable table top here} but if you aren't so lucky, you might want to lay wax paper down to protect your surface. I found that the paint wiped right up with no issues.
I started at the bottom of the napkin, laid it out flat, and began brushing my paint on using the same up and down direction. I sort of eye balled it on how far I went up on each napkin with each color.
After adding the blue, I added the green and blended them at their meeting point. Then I added my final color. I didn't want to go all the way to the top, I wanted to leave some of the natural off white color on the napkins.
I took each napkin and laid them outside to dry in the sun. It was a hot day, so it didn't take long at all. You could also throw them on low in your dryer.
I love how they turned out!
Each one is a little different and unique.
This was such an easy inexpensive project and I was able to use materials I had on hand. Those are my favorite kinds of projects!


No comments