I know I'm not the only one with a soft spot for the Target one spot. It's always the first place I stop when I shop at Target, probably because it's the first thing there when you enter {well played Target, well played}, but I always take a peek, even if I'm in a hurry.
Last week, I noticed a few seasonal items and contemplated getting this $3 bunny. It had a distressed like finish on it, but the first thing I thought was that I would like to cover it in moss. I like to use cheap materials for crafts and projects and $3 is getting into the "too rich for my blood" category, so I had to really like it and think that the project would work the way I wanted it.
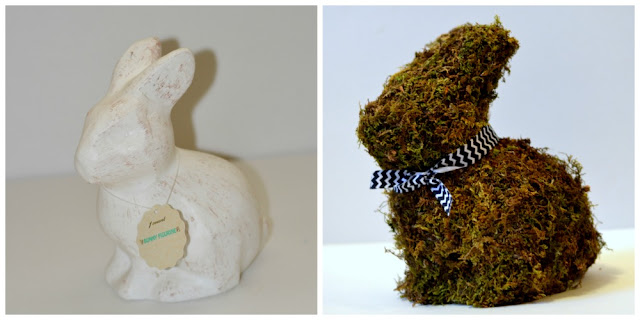
I'm not going to lie, the bunny came in and out of my cart a few times. I'm so glad that it stayed in my cart though. I love the before and after and can't wait to show you how to do it yourself with your very own $3 bunny from the Target one spot. It's worth it. Here's a little before and after to prove it.
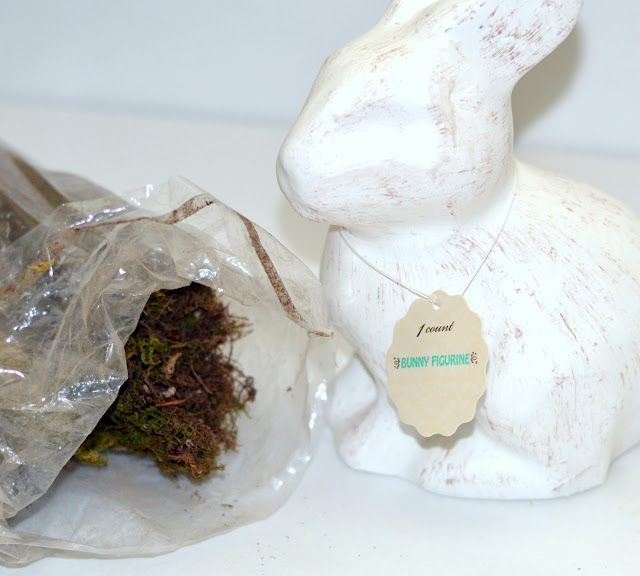
To get started you will need:
a bunny figurine {mine came from Target for $3}
moss {got mine at a garage sale for a quarter or buy it here}
hot glue gun and glue sticks
I'm not going to lie, working with the moss is a mess. It will be all over your house and you will need to clean up your work space when you are done.
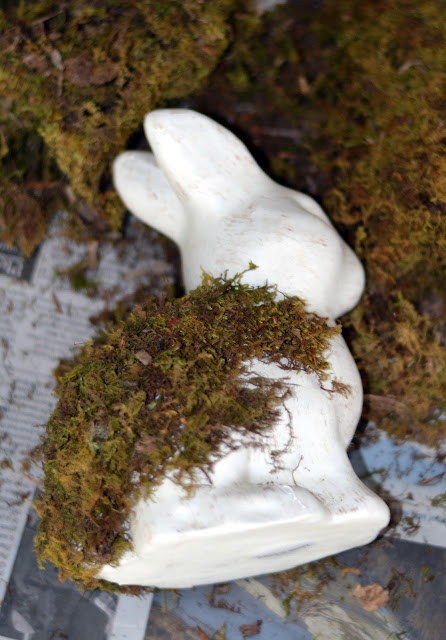
I used hot glue and worked in patches on the rabbit and laid my moss over the glued areas. I used my glue gun on low temp because you will be touching the glue if it seeps through the moss. Press the moss firmly down. I found it easiest to unroll a large piece of my moss first and then see how it would fit in the area I needed to cover.
Don't forget to press firmly. If you don't, you will lose the shape of your rabbit and you don't want that. Fill in any holes with moss after you are finished to make sure your rabbit is well covered.
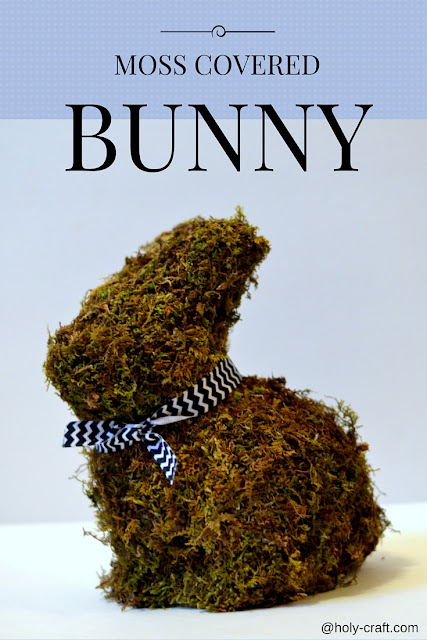
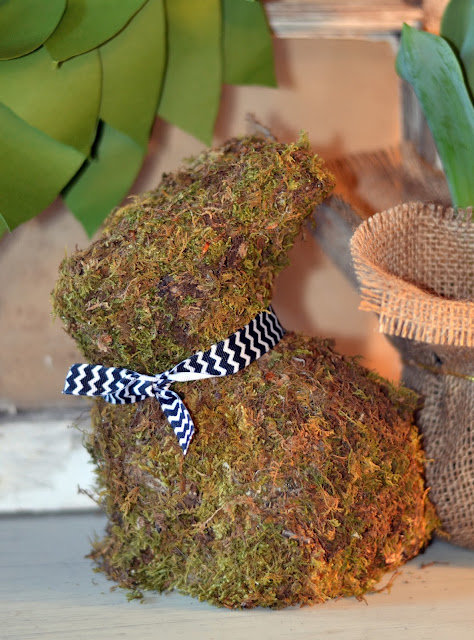
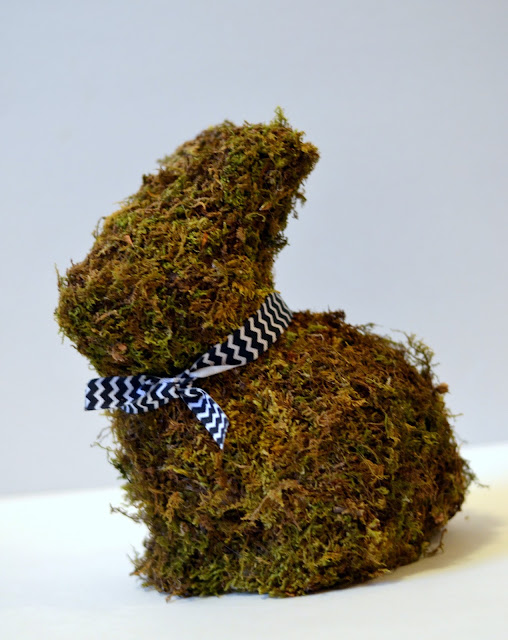
I tied a little ribbon around his neck and have him sitting on my entry table.
I just love how he turned out and for a fraction of the price of other ones I have seen for sale!




No comments