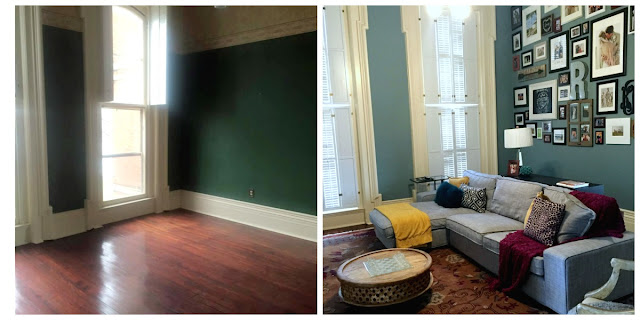
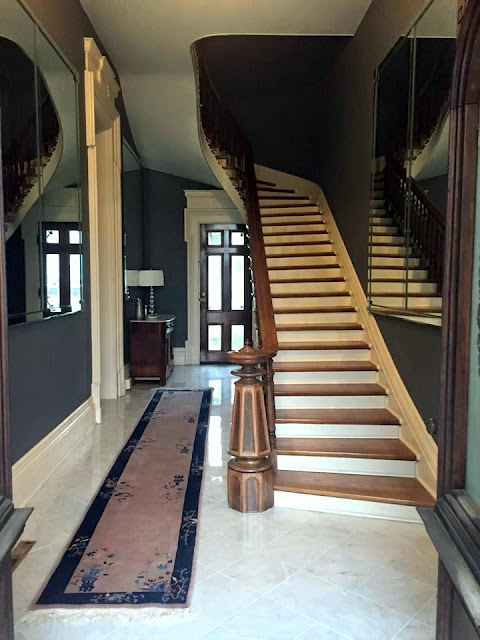
One of my favorite things about The Mansion are the plantation shutters and the huge floor to ceiling windows. While wallpaper is making it's comeback, it isn't usually a permanent decorating solution. While Dea hasn't shied away from using wallpaper {you can see it in her foyer here} she wanted to start fresh in this room and remove the wallpaper that was hanging on the upper half of the walls. She was in for a fun surprise when she started peeling the paper away!
It's not uncommon in historic homes to find layer after layer of wallpaper. No one likes to remove wallpaper. Usually it's just as easy to layer another coat on top. Thankfully, in the living room, Dea found only one layer of paper. But that layer proved to be the most difficult wallpaper she's ever removed. If you find yourself in the same situation I will be providing tips from Dea on how to remove wallpaper tomorrow.
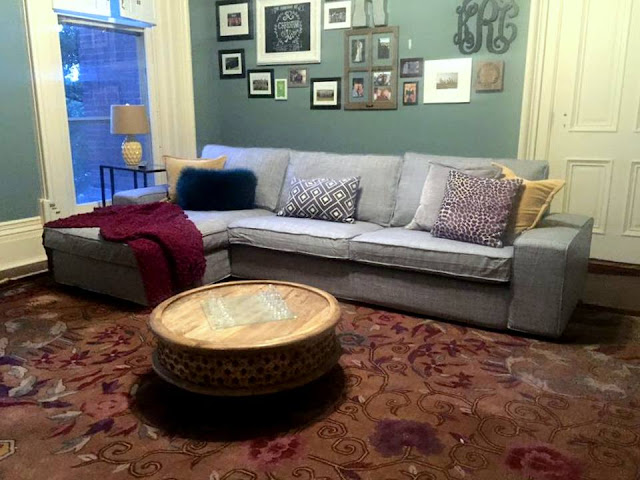
After the wallpaper was removed, Dea used the rug that her in-laws gifted her for inspriation choosing a new paint color for the walls. As you can see, they selected Benjamin Moore Sioux Falls.
When decorating a room from the ground up, it's always good to use a large piece as inspiration for your paint colors. You can use a piece of art that you love or a rug like Dea did to inspire the color you want for the room.
Remember how I told you that Dea found a little surprise underneath the wallpaper when she was removing it? Inch by inch as the wallpaper was stubbornly removed, Dea found signatures at the top of the wall in order from newest to oldest dating all the way back to 1911!
I know I mentioned before that I grew up in a historic home myself, which is why I love old houses as much as I do. When I was three, we moved into a home that was built in 1860. Like Dea, there was a lot of wallpaper and one summer, we tackled removing and re-wallpapering the hallway. We found signatures on the walls as we removed the paper, and my mom let us take a pencil to draw on the walls before we put new wallpaper up. I remember doing this in nearly every room we put wallpaper in {it was the 80's so there were a lot of them!}.
Several years ago, my family went back to my old town and I found that the home I grew up in was for sale. I knocked on the door and explained that I had lived there growing up and the owner was kind enough to give me and my family a tour.
On that tour, I found these drawings on the wall in the upstairs hallway. Like us, he was re-wallpapering and had removed the paper and found some of the drawings that my little brother Ben and I had made back in 1987. How fun is that?!
My guess is, he wasn't quite as enamored by his findings of our drawings as Dea was. So much so, that she decided to go in a totally new direction with her decorating plan for the room. The names Dea found were names of known painters in the area. Her original plan was to paint all of the walls, but once the signatures were revealed she wanted to come up with a plan so that she could salvage the signatures and keep a little fun history of the room but still make sense of the design.
Dea thought about a few options.
Option one would be to wallpaper the entire wall leaving the signatures in tact for the next owners to uncover.
Option two was to take a picture of the signatures and frame them to hang lower on the wall since they were found by the top of the wall.
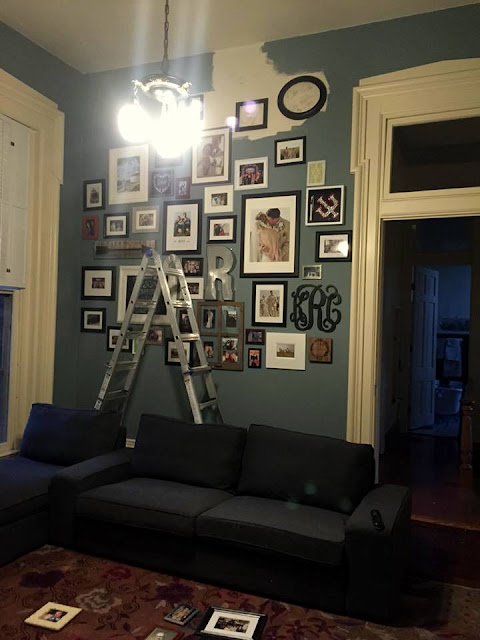
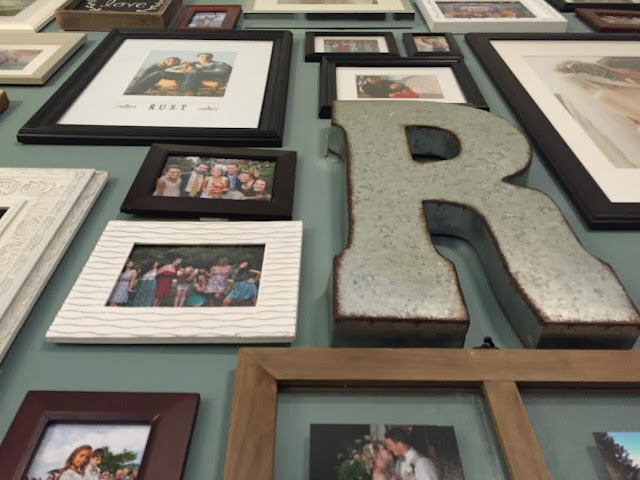
Option number three was what seemed like the best option and that was to frame the signatures where they were and cut in with paint around them. Knowing that it would be awkward to have five framed signatures along the top of the wall, Dea decided to create a full gallery wall, which ended up being the perfect solution for the family room.
As a newlywed they had plenty of gorgeous frame worthy pictures to hang too!
I've never hung a gallery wall so I asked Dea if she could give you all some tips. She said,
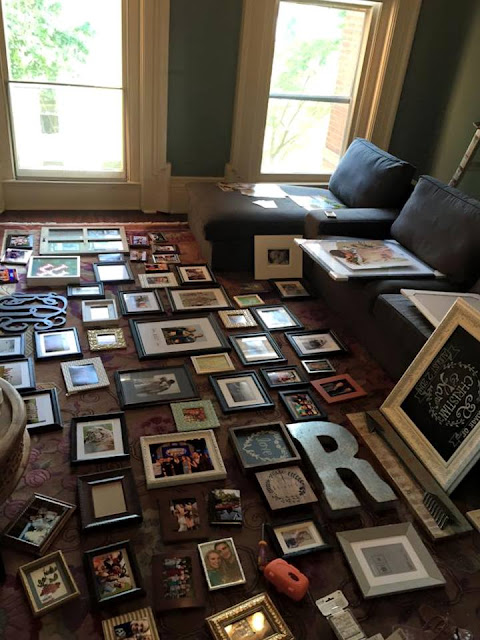
"Typically I would plan a gallery wall by placing all of my pictures on the floor in front of the wall to get a good layout with them and consider spacing. Because I had so many pictures to hang with this wall I practiced a new method. I laid all of the pictures on the floor first, just so I could see what all I had to choose from. I then began hanging the pictures starting with the largest. I spread the larger pictures out throughout the gallery wall. Then I spread the non-picture artwork so that they would be spread throughout the wall. Then worked my way to the smallest frames. I did keep an eye out for color of the frames to spread out colors as well as content of the pictures. I didn’t want all of the wedding pictures grouped together for instance. Normally I would worry about having the same spacing between every picture, but with this project I didn’t so much worry about that."
See how the paint is cutting in around the frames at the top? Those are the signatures that Dea was working on keeping in tact to restore. I just love that idea don't you?
Ever wanted to know the easiest method for hanging those pictures in a gallery wall? Command Strips or Hooks. Who knew? There is far less guesswork in using Command Strips and it's so much easier than putting a nail in the wall for every single photo. Once they are set {usually 24-48 hours}, they are there for good or until you decide to take them down.
After the gallery wall was hung it was time to start digging into the details. Dea gave me a great tip when decorating with pillows.
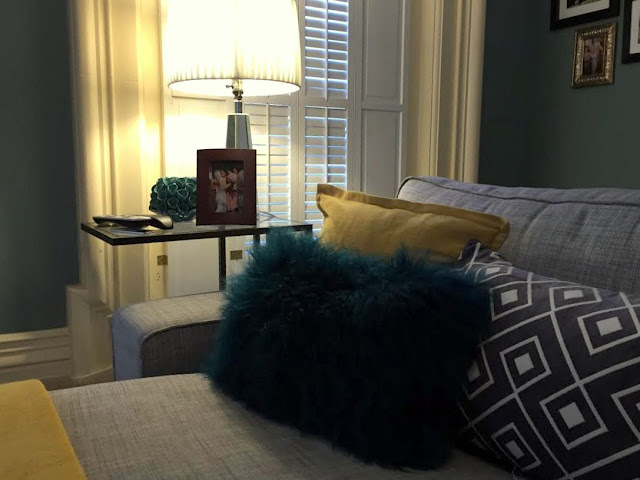
The eye naturally gravitates towards odd numbers. I would recommend when placing pillows on a couch, use 3 or 5. For this room I arranged two groups of three because the couch is so long. With a smaller couch you can spread 5 pillows across or group three in one corner and two in the other with a blanket to give you the third item.
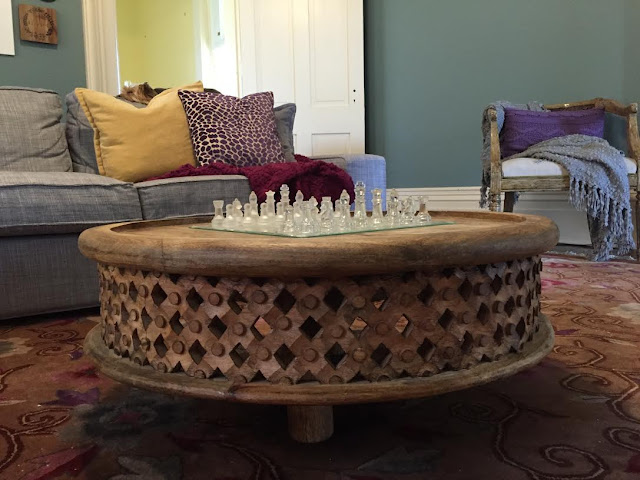
This coffee table from West Elm is one of my favorite pieces in the room.
It's hard making a really large room with very tall ceilings feel warm and cozy but I think Dea did just that don't you? I just love the space and I love how she was able to shift her design focus a bit to include such a fun historic element.
In case you missed the foyer remodel and the big reveal, you can find it here.
Don't miss a post! Sign up for the Holy Craft newsletter and get all the latest blog posts delivered right to your inbox.







No comments