Glittery Christmas Pillows

Christmas decorating is in full effect at our house.
I whipped up a few pillows today to help spruce up my living room.

A few weeks ago, I got an AH-mazing package of goodies from Tulip.
Check out my very first haul video.
You can see all the goodies that I received.
{do it quick or my eyes will probably stay like this!}


The one product I was most excited about was the fashion glitter shimmer transfer sheets.


I immediately thought I would make a vintage glittery Santa pillow


I noticed on the Tulip Shimmer Sheet directions that they could be used with most die cutters.
Challenge accepted!
{if you don't have a die cut machine, keep reading!  I have a tutorial for you too!}


I found an image I liked and made it into an image that I could cut in my Silhouette SD software.


I placed my tulip shimmer sheet on my silhouette cutting mat and started cutting.


Even setting the sheet on a slower double cut, the image didn't cut out completely.
BUT, it did make an easier image for me to use to cut on my own.
I cut my image out with small scissors and weeded out the parts that would leave me with the best silhouette image of my vintage Santa.


After I was done with that, I made a simple envelope pillow case.
I had a 16x16 pillow form that I picked up at a garage sale this summer for 50 cents.
With that in mind, I cut a long rectangle about 28x18.


I folded over the short ends and hemmed them down.


Once the ends were hemmed, I folded the pillow case to the measurements of the pillow, overlapping by about 3 inches.  Make sure your sewed end seems are on the outside.


I finished sewing the case by sewing both of the side seems together.


There you have it!
The inside of the envelope slip cover pillow.


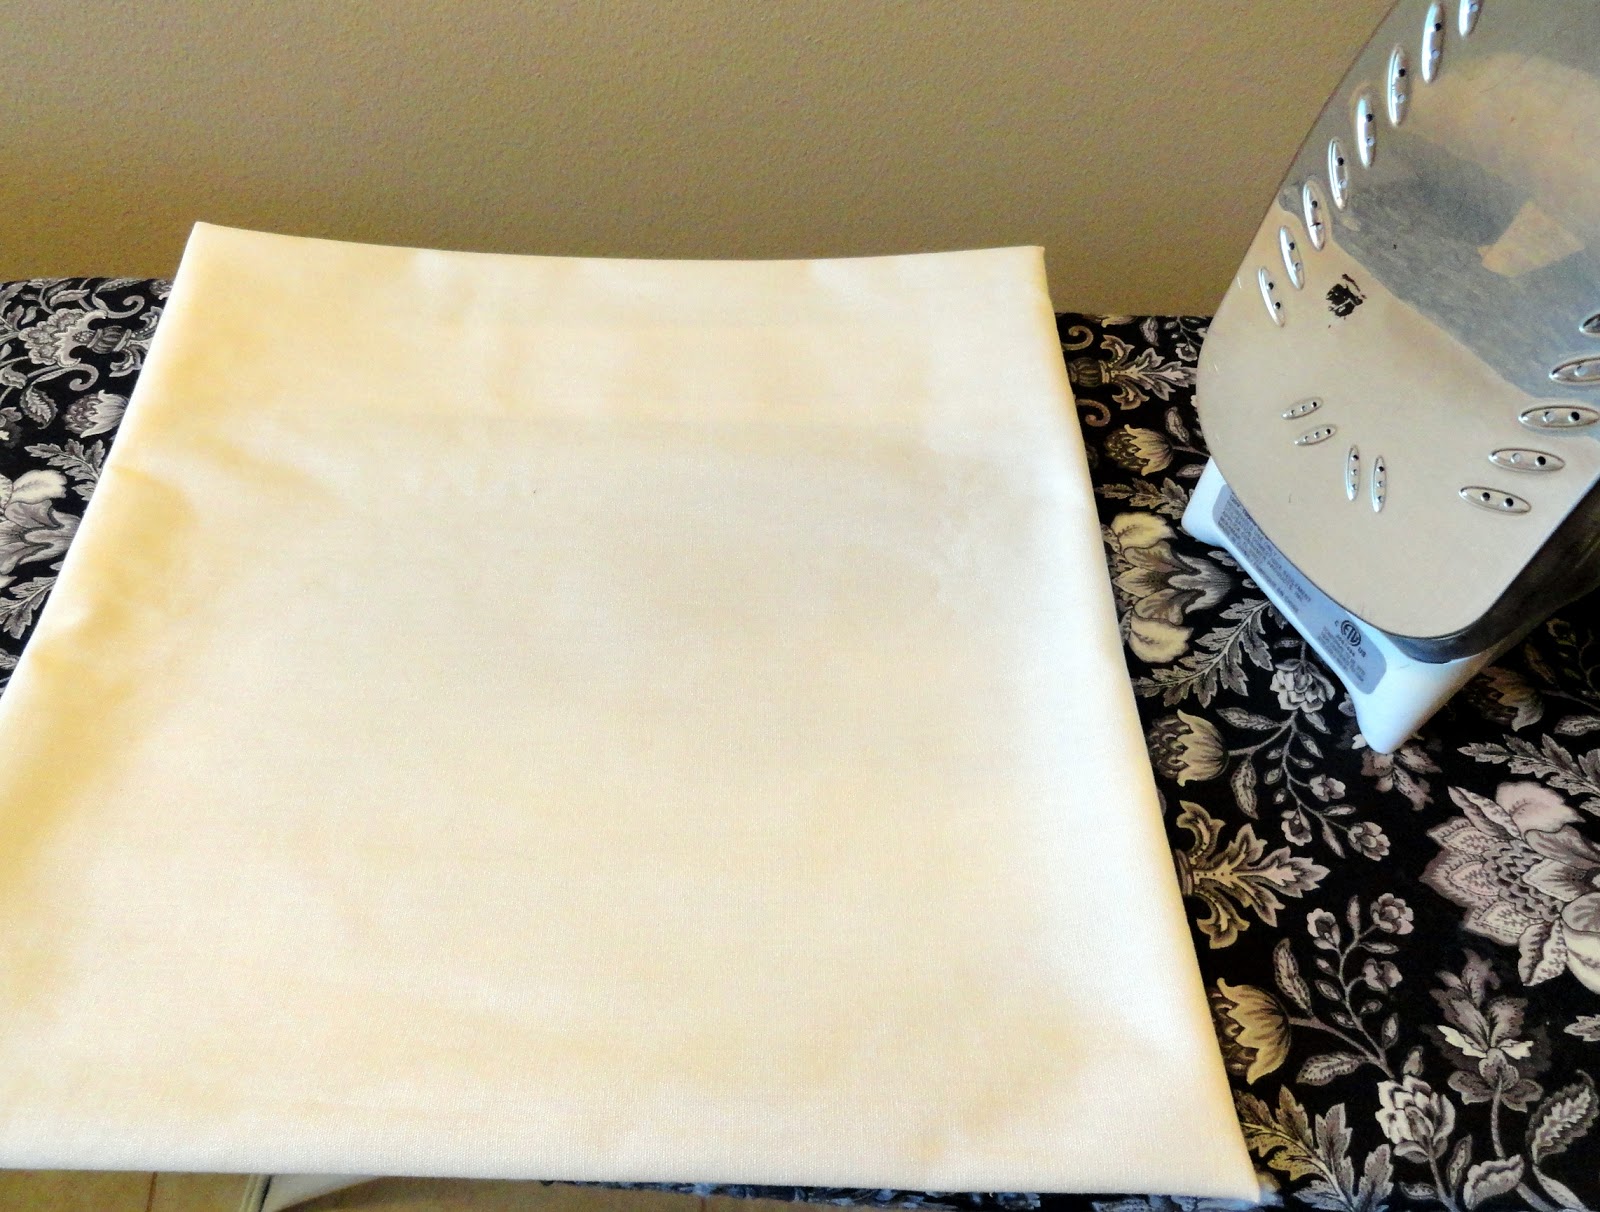
Flip your pillow case inside out {or outside in...} and iron flat.


Place your cut image on the front of your pillow case and position it where you want it to stay forever and ever.


Cover with a thin cloth 


Heat dry iron to cotton setting and iron design in place for about 40 seconds.


There you have it!
A beautiful vintage looking glittery Santa pillow.


I realize that not everyone has a die cut machine so I also made a tutorial for how to make a design without a fancy machine.


I used a font that I liked and mirrored that image and then printed it out.


I used spray adhesive on the back of my printed page and adhered the printed page to the back slick side of the Tulip shimmer sheet.


I cut the image out with my small scissors


Once my image was cut, I peeled off the paper backing.


I followed the above envelope pillowcase tutorial using the measurements of a pillow form I bought at Goodwill for $1.
I placed my design on the pillow case, put a thin cloth over the top and ironed it in place for about a minute.


Viola!
A beautiful hand cut glittered Christmas pillow!


Aren't the tulip shimmer transfer sheets amazing?!
The possibilities are endless for not only amazing Christmas decor, but beautiful fabric gifts year round.


Much more Tulip inspiration can be found in Tulip's social media resources here:


Pinterest

And if you need even more inspiration, go visit these amazing bloggers to see their projects!


I wrote this post as part of a paid campaign with Tulip and Blueprint social.  As always, the opinions in this post are 100% mine.  
0

Sheet music wreath

On Monday, I shared with you how I made my sheet music Christmas trees.
Today, I will be sharing with you how I made my rolled sheet music wreath.
Isn't it beautiful?!


I started with a large piece of sheet music.
Roll the sheet music lengthwise.
I always knew I had a good roll when I would end up with a triangle in the middle of my cone.
Glue the end of the paper in place with your glue gun.


I used a Styrofoam circle from the Dollar Store.
You all know how much I love the Dollar Store!
I marked the center with a dot, but I don't think it really matters one way or another.


Once I rolled a fair amount of cones, I was ready to start gluing them on to the Styrofoam circle.
I made a large cone pattern to start off with,


then slowly starting to fill in the spaces as equally as possible.


Once I finished gluing the cones on as full as I could, this is what it looks like from the front.


I did the same thing to the front of the wreath filling in the Styrofoam with cones until I was pleased with the fullness of it.  The center needed to be finished off with something, so I decided to attempt to make a sheet music fan for the center.


I took 3 sheets of 2 inch wide paper for the big fan
and one sheet of one inch wide paper for the small fan


Small fan tutorial
1. fold the small paper accordion style
2. glue one end to the other end and place on it's side
3. carefully gather and pinch the end pushing down in the center to make a flower.  Place a small piece of glue in the center to hold it together.

Large fan tutorial 


1. fold the three sheets accordion style
2. glue each end to one another
3. form a circle with the paper
4. pinch and glue the inside together 

 I glued the big fan and the small fan together, and then glued it to the center of the wreath.
You could also glitter the edges of the fan if you wanted to.


 That's it!
Glue a ribbon to the back and hang your wreath in your favorite spot!

As you can see, I really love sheet music.
Have you made anything beautiful with sheet music?
0

Great deal on Kiwi Crate

Give the Gift of Creative Fun! Shop Kiwi Crate for holiday craft projects for kids ages 3-7 ››
Do ya'll {yep, totally just broke out my Southern...live with it}, remember when I
 told you about Kiwi Crate?  As a mom of three with a child development {ish} background and a creative streak, I thought it was genius!  

For less than 20 bucks a month and FREE shipping, you can subscribe for a month, 3 months or 6 months and receive fun arts, crafts and science activities delivered right to your door!

Kiwi Crate even makes a great gift.
Delightful kids' crafts delivered right to your door.  Shop Kiwi Crate! ››

Pick one up for your favorite kid today!

0

Sheet music Christmas tree tutorial {from cereal boxes!}

A few weeks ago, I participated in a craft bazaar.
These sheet music trees are one of the things that I brought with me that I got the most comments on.


These trees are the ultimate in recycling.
I used old cereal boxes for the base, and some vintage sheet music that I bought for next to nothing at an estate sale.  My favorite part about the sheet music is that it still had gold stars from good practicing!

You can make several different types of trees using this cone base.  
I made feather trees from an old boa, I made bead wrapped trees from silver tree trimmings, and I made paper wrapped trees.

Today, I'm going to show you how I used the cereal box cone to make my sheet music trees.
But first, a little tutorial on how to make the cone.

1. save old cereal boxes
2. cut the box open down one side
3. trim the box top and bottom
4. roll a cone (printed side on the inside) and tape with masking tape
5. trim the bottom to make sure the cone sits flat


Once you have your cone made, take out your sheet music.
Cut each piece into 3x2 rectangles.
I used about 4 sheets for each tree.


Once your sheet music is cut, roll each piece on a pencil.


Starting at the bottom of your cone, hot glue the curled paper on the bottom, making sure all of the cardboard is covered up as much as possible.


Make your second layer about a half an inch above your first layer and continue to glue the papers on making sure each paper is covering the cardboard cone.
Continue each layer until you are at the top.


That's it!
Make several and prop them on candlesticks, put them on your piano, or arrange them together to make your own sheet music forest.

Stay tuned on Wednesday to see what else I made with my sheet music.
0
Back to Top